Remote VNC For IoT: Easy Tutorial & Setup Guide
Are you ready to unlock the power of your Internet of Things (IoT) devices from anywhere in the world? Mastering the art of remote VNC access is not just a technical skill, it's a gateway to unprecedented control and flexibility over your connected world.
The potential of IoT extends far beyond the confines of our homes and offices. Imagine monitoring your greenhouse from a beach in Bali, diagnosing a server issue in a data center while on a transatlantic flight, or remotely controlling a manufacturing process from the comfort of your own living room. The ability to remotely access and control devices, regardless of physical location, is the cornerstone of true IoT empowerment. This is where remote VNC (Virtual Network Computing) comes into play, acting as the digital key to your IoT kingdom. But what exactly is VNC, and how can it be harnessed for your IoT projects? This tutorial will delve into the core concepts, practical implementation, and crucial considerations for establishing secure and reliable remote VNC connections for your IoT devices.
VNC, in its essence, is a graphical desktop sharing system that uses the RFB (Remote Framebuffer) protocol to let you remotely control another computer. Think of it as a screen-sharing application, but specifically designed for remote access. The VNC server runs on the target device (your IoT device, in this case), and the VNC client runs on your control device (your laptop, smartphone, etc.). When you connect, the VNC client displays the contents of the target device's screen and allows you to interact with it using your mouse and keyboard. This interaction is transmitted across the network, allowing you to effectively "see" and "control" the IoT device as if you were physically present.
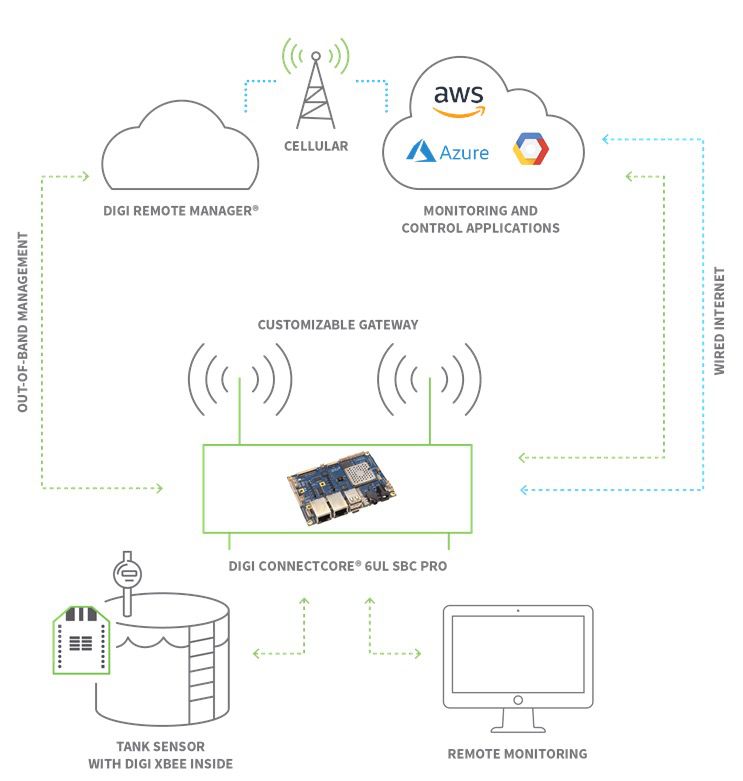
The applications of remote VNC in the IoT sphere are vast and constantly evolving. From simple home automation projects, where you might monitor and control lights, thermostats, and security systems, to more complex industrial applications like remote machinery monitoring and control, remote VNC provides a user-friendly interface to interact with and manage complex devices. Consider a smart farm setup, where sensors collect data on soil moisture, temperature, and light levels. With remote VNC, you can visualize this data in real-time, make adjustments to irrigation systems, and ensure optimal growing conditions from anywhere. Or, imagine a remote robotics project, where you can control the movements of a robot arm, and perform tasks such as assembly or inspection without being physically present. The flexibility and accessibility of remote VNC make it an invaluable tool in the modern connected landscape.
Before embarking on a remote VNC project, it's crucial to understand the underlying hardware and software requirements. Your IoT device itself needs to be capable of running a VNC server. This often involves installing a VNC server application on the device. Popular choices include TightVNC, RealVNC, and TigerVNC. The specific server application you choose will depend on the operating system and hardware of your IoT device. For example, on a Raspberry Pi running a Linux distribution, you might opt for TigerVNC due to its lightweight design and good performance. On an Android device, you would look for a VNC server app designed for Android. Once the server is installed and configured, it will listen for incoming connections on a specific port, typically port 5900 (though this can be customized).
On the client-side, you'll need a VNC client application on your control device. Again, numerous options exist for different operating systems. For Windows, RealVNC Viewer and TightVNC are popular choices. On macOS, you can use the built-in Screen Sharing application (which is based on VNC) or download a dedicated VNC client like RealVNC Viewer. Android and iOS devices also have numerous VNC client apps available on their respective app stores. These client applications allow you to connect to the VNC server on your IoT device by specifying its IP address or hostname and the port number. When you initiate the connection, the client presents the graphical interface of the IoT device's screen, enabling you to interact with it.
The next critical element is network connectivity. For remote access, your IoT device needs to be connected to the internet. This can be through Wi-Fi, Ethernet, or even a cellular connection, depending on the specific application. The IP address of the IoT device is essential, as it's what you will use to connect to the VNC server. Keep in mind that if your IoT device is behind a firewall or a router, you may need to configure port forwarding to allow incoming VNC connections. This involves setting up your router to forward traffic on the VNC server's port (typically 5900) to the internal IP address of your IoT device. Port forwarding is a core concept in ensuring the external world can access your internal network devices.
Security is paramount in any remote access scenario. When setting up remote VNC, you must consider the security implications and implement measures to protect your devices and data. One of the most fundamental security practices is to use strong passwords for your VNC connections. Do not rely on weak or easily guessable passwords. Consider using a password manager to generate and store strong, unique passwords. Another layer of security is to encrypt your VNC connection. Most VNC server and client applications support encryption, which scrambles the data transmitted between the client and the server, making it unreadable to anyone who intercepts the connection. Choose an encryption method supported by both your VNC server and client applications.
Another key element for security is using a Virtual Private Network (VPN). A VPN creates a secure, encrypted tunnel between your control device and the network where your IoT device resides. This effectively shields your VNC traffic from prying eyes and prevents unauthorized access. When using a VPN, you connect to the VPN server first, and then connect to your IoT device's VNC server through the VPN's internal network. Numerous VPN providers offer services for both personal and business use, so research and select one that meets your security and privacy needs. Alternatively, if you have the technical expertise, you can set up your own VPN server on a device within your network.
Firewall configuration is another crucial aspect of security. Ensure that your firewall is configured to allow only necessary traffic. Block all incoming connections on ports that are not required for your VNC setup. Consider only allowing connections from specific IP addresses or IP address ranges. Many routers and operating systems have built-in firewalls that you can customize to control network traffic. This will significantly limit the attack surface and increase the security of your remote access setup. Regularly update your firewall rules to reflect your changing security needs.
Regular updates of VNC server and client applications are essential to address any security vulnerabilities that may be discovered. Software developers frequently release updates that fix security flaws and improve the overall security of their products. Always check for updates and install them promptly. Consider enabling automatic updates if your VNC software supports it. Outdated software is a prime target for hackers. Make this a fundamental part of your regular device maintenance procedures.
Setting up remote VNC access involves a series of steps, from installing and configuring the VNC server on the IoT device to configuring the client on your control device and setting up network connectivity. Let's illustrate the process with a common example: accessing a Raspberry Pi running a Linux distribution from a Windows computer.
First, install a VNC server on your Raspberry Pi. One popular and lightweight choice is TigerVNC. Use the following command to install it via the terminal: `sudo apt-get update && sudo apt-get install tigervnc-standalone-server`. After the installation, you'll need to set a password for your VNC connection. Start the VNC server by typing `vncserver` in the terminal. You'll be prompted to set a password and confirm it. The server will start and provide a display number (typically :1, :2, etc.).
Next, configure your Raspberry Pi's network settings. Ensure that your Pi is connected to the internet, either through Wi-Fi or Ethernet. Determine the Pi's IP address. You can use the `ifconfig` command in the terminal to find its IP address. For remote access, you may need to set a static IP address for your Pi. This ensures that its IP address doesn't change, making it easier to connect to it remotely.
Then, configure port forwarding on your router. If your Raspberry Pi is behind a router, you'll need to forward the VNC port (typically 5901, or 5900 + the display number) to the Raspberry Pi's internal IP address. Log in to your router's configuration interface (usually through a web browser using its IP address). Navigate to the port forwarding section and create a new rule. Specify the VNC port, the Raspberry Pi's IP address, and the protocol (TCP). Be sure to consult your router's documentation for instructions specific to your model.
On your Windows computer, install a VNC client. Download and install RealVNC Viewer or TightVNC. After installation, open the client application. In the connection field, enter the IP address or hostname of your Raspberry Pi, followed by the display number (e.g., `192.168.1.100:1`). Enter the password you set during the VNC server setup on the Raspberry Pi. If your connection is successful, you'll see the Raspberry Pi's desktop on your Windows computer.
Once you are connected, you can interact with the Raspberry Pi as if you were sitting in front of it. You can open applications, run commands in the terminal, and manage your IoT projects remotely. This basic setup provides a foundation for various IoT applications. It's vital to remember to secure your VNC connection by using strong passwords and, ideally, encrypting the connection or employing a VPN for secure remote access.
| Category | Details |
|---|---|
| Device Type | IoT devices, including but not limited to: Raspberry Pi, Arduino, ESP32, Smart Home devices, Industrial controllers, and custom-built devices. |
| Operating Systems | Linux (Raspberry Pi OS, Ubuntu, Debian), Android, Windows, and any operating system that supports VNC server software. |
| VNC Server Software | TightVNC, RealVNC, TigerVNC, UltraVNC, and any VNC server software compatible with the device's OS. |
| VNC Client Software | RealVNC Viewer, TightVNC, built-in screen sharing applications (macOS), and VNC client apps for Android and iOS. |
| Networking Requirements | Internet connection for the IoT device, static IP address or dynamic DNS for the device, port forwarding (if behind a router), and VPN for enhanced security. |
| Security Measures | Strong passwords for VNC connections, encrypted connections (if supported), Virtual Private Network (VPN) usage, firewall configuration, regular software updates. |
| Typical Use Cases | Home Automation (lighting, security, climate control), Industrial Monitoring and Control (machinery, sensors), Remote Robotics, Agriculture (monitoring and control of irrigation systems), and Educational projects. |
| Challenges | Security vulnerabilities, Network configuration complexity (port forwarding, VPN setup), bandwidth limitations (for high-resolution displays), latency issues (depending on the internet connection). |
| Alternatives | TeamViewer, AnyDesk, Remote Desktop Protocol (RDP - for Windows devices), SSH (for command-line access). |
| References | RealVNC Official Website |
This is just a basic implementation, and you can customize it to fit your needs. For example, you could set up a script to automatically start the VNC server when the Raspberry Pi boots up. This ensures that you can always access your device remotely, even after a power outage. The key is to understand the fundamental components, apply the security measures, and adapt the setup to match the specific needs of your IoT project.
Troubleshooting remote VNC connections can be a frustrating, but necessary, part of the process. When you encounter problems, a systematic approach can help you diagnose and resolve them. Start by verifying the basics. Confirm that your IoT device is connected to the internet and has a valid IP address. Double-check the IP address you're using to connect with the client application. Ensure that the VNC server is running on the IoT device and that the port number you specified is correct (default is typically 5900 or 5901).
If you can't connect, check your network configuration. If your IoT device is behind a router, make sure that port forwarding is correctly configured. Verify that the correct port (usually 5900 or 5900 + display number) is forwarded to the correct internal IP address of the IoT device. Check the router's firewall settings to ensure that the port is not blocked. Use online port checking tools to verify the open ports, which can confirm whether your port forwarding setup is working correctly.
Firewall issues on the IoT device or the control device can also prevent VNC connections. Check the firewall settings on both devices and verify that the VNC port is allowed. If you're using a third-party firewall application, make sure it's not blocking the connection. Some firewalls might also block encrypted VNC connections, so make sure your firewall allows encrypted traffic.
Another common issue is incorrect VNC server configuration. Ensure that the VNC server is configured to allow connections from your control device. Some VNC servers have access control lists (ACLs) that restrict which IP addresses can connect. Verify the VNC server configuration file (e.g., `/etc/vnc/config.d/vncserver` on Linux) and ensure that access is not restricted. Check for any error messages in the VNC server logs. These logs often provide valuable clues about the cause of connection problems. The VNC server logs are often in `/var/log` or a similar directory.
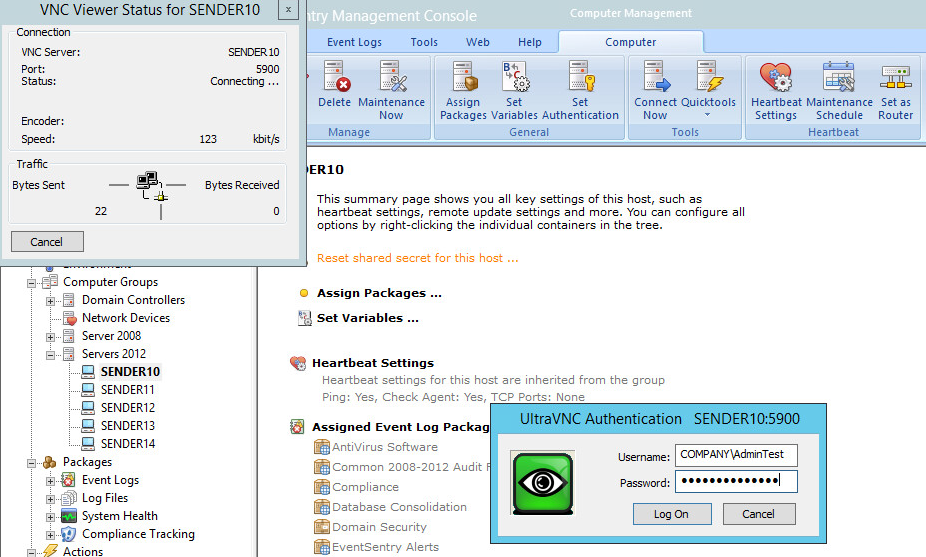
Incorrect password or authentication issues can also cause connection failures. Make sure you're using the correct VNC password when connecting from the client application. If you've recently changed the password, make sure you've updated it on the client side. Ensure that the VNC server is configured to use a supported authentication method. Some VNC servers may require a specific authentication method (e.g., password, challenge-response). If you're using encryption, make sure that both the server and client applications support the same encryption methods. Different encryption methods can lead to connection problems.
Consider the resolution of the VNC connection. Very high screen resolutions can cause performance issues, particularly over slower internet connections. Try reducing the resolution on the IoT device or the VNC client application. Similarly, a slow internet connection can introduce latency and performance problems. Test the connection speed on both the IoT device and the control device. The higher the resolution and the more data being transmitted, the more demanding your internet connection needs to be.
Another approach is to test the basic network connectivity. Use the `ping` command from your control device to check if the IoT device is reachable. This will help you determine if there are basic network connectivity issues. Try connecting to the IoT device using SSH (Secure Shell) for command-line access, if it's available. This can help you to isolate the issue to either VNC or other network problems. If possible, temporarily disable any firewalls on both the IoT device and the control device to rule out any firewall-related issues. Remember to re-enable firewalls once you've completed your troubleshooting.
VNC offers a dynamic and versatile approach to managing and interacting with your IoT devices. However, it's important to understand its limitations and potential drawbacks. The primary limitation is its dependence on a stable internet connection. If the IoT device loses its internet connection, remote access becomes impossible. This can be especially problematic in environments with unreliable network infrastructure. Consider this limitation carefully when designing your IoT project.
Performance is another potential challenge. VNC can be bandwidth-intensive, particularly when displaying complex graphical interfaces or when using high resolutions. The performance may degrade with slow internet connections, leading to lag and a sluggish user experience. Reduce the screen resolution if necessary to improve performance. For resource-constrained devices, the overhead of running a VNC server can impact overall system performance. Consider the processing power and memory of your IoT device when deciding whether VNC is the right solution.
Security considerations are critical. While VNC itself can be secured with strong passwords and encryption, any vulnerabilities in the VNC server or client software can expose your devices to potential security risks. Regularly update the VNC software and implement other security measures, such as a VPN. VNC is not inherently designed for mobile devices, and the touch-based interfaces can be clunky and challenging. Explore alternative remote access solutions if you anticipate extensive mobile access. The screen size on mobile devices can make it difficult to view complex interfaces.
Alternatives to VNC exist, each with its own strengths and weaknesses. TeamViewer is a popular remote access tool that offers cross-platform compatibility and ease of use. It provides a simple interface and is often easier to set up than VNC. However, it's a proprietary solution, and its free version is limited for commercial use. AnyDesk is another strong contender, and known for its fast performance and low latency. It's a good option for remote control of devices over less-than-ideal network connections. However, also has limitations in its free version.
Remote Desktop Protocol (RDP) is a protocol designed for Windows systems that provides remote access to Windows desktops. It offers excellent performance and tight integration with Windows systems. But its not well suited for other operating systems. SSH (Secure Shell) is a command-line-based protocol that allows secure remote access to a device's terminal. It does not provide a graphical interface, but is ideal for remote command execution and file transfer. SSH is a low-overhead solution suitable for IoT devices with limited resources.
The choice of the best remote access solution will depend on your specific requirements. If you need a graphical interface, and a simple setup is important, VNC or TeamViewer might be appropriate. If you need high performance, AnyDesk or RDP might be better choices. If command-line access is sufficient, and you want a lightweight and secure solution, SSH is a strong contender. Consider your device's capabilities, your network infrastructure, and your security requirements when selecting the right remote access tool.
The path of implementing remote VNC access in IoT projects is an ongoing journey, not a destination. As technology evolves, new tools and techniques will emerge, and the best practices will evolve. Continuously educate yourself on the latest security vulnerabilities and best practices. Stay informed on new developments in IoT and remote access technology. Subscribe to relevant blogs, forums, and online communities to stay ahead of the curve. Regularly review and update your setup, including software, configurations, and security measures.
Experiment with different VNC server and client applications. The functionality and performance of different VNC tools can vary. Try several options to find the ones that best fit your needs and device capabilities. Contribute to open-source projects. You can enhance the capabilities of VNC and other related technologies by actively participating in the open-source community. Test your setup rigorously before deploying it in a production environment. Perform thorough testing to ensure that your remote access setup is stable and secure. Establish a regular maintenance schedule. This should include updating software, checking security settings, and reviewing your network configuration. By being diligent in your approach and continuously learning and adapting, you can harness the full power of remote VNC access and unlock the true potential of your IoT devices.


 devices from anywhere in the world? Mastering the art of remote VNC access is not just a tech)