Access Your Raspberry Pi Desktop Remotely: A Beginner's Guide
So, you're sitting at your computer, miles away from your Raspberry Pi, and you're itching to tinker? The ability to access your Raspberry Pi desktop remotely opens up a world of possibilities, transforming your tiny computer into a powerful tool that's always at your fingertips. Whether you're troubleshooting a project, running a headless server, or simply want to check in on things, remote access is the key. Forget the days of needing to be physically present. With a few simple steps, you can control your Raspberry Pi from anywhere with an internet connection.
The concept of remote access might seem daunting at first, but it's surprisingly straightforward to set up. You dont need to be a tech wizard to get started; even a beginner can configure their Raspberry Pi for remote desktop control. The key is understanding the tools available and the basic principles involved. Once configured, your Raspberry Pi becomes a virtual window, allowing you to interact with its desktop environment as if you were sitting right in front of it. The implications are vast: you can manage your home automation system, monitor your security cameras, or even run complex software from the comfort of your couch, all without ever having to touch the physical device. In this article, well break down the steps involved, explore the best methods, and address potential challenges, ensuring you have everything you need to successfully access your Raspberry Pi desktop remotely.
Before we delve into the 'how,' let's consider the 'why.' Remote access to your Raspberry Pi isn't just about convenience; it's about unlocking its full potential. Imagine being able to monitor your 3D printer's progress while you're at work, or adjusting your smart home settings from across the globe. The flexibility and control offered by remote access are unparalleled. However, its also important to understand the security implications. Proper configuration is crucial to protect your Raspberry Pi and your network from unauthorized access. Well cover the security aspects, ensuring you can enjoy the benefits of remote access without compromising your data or privacy.
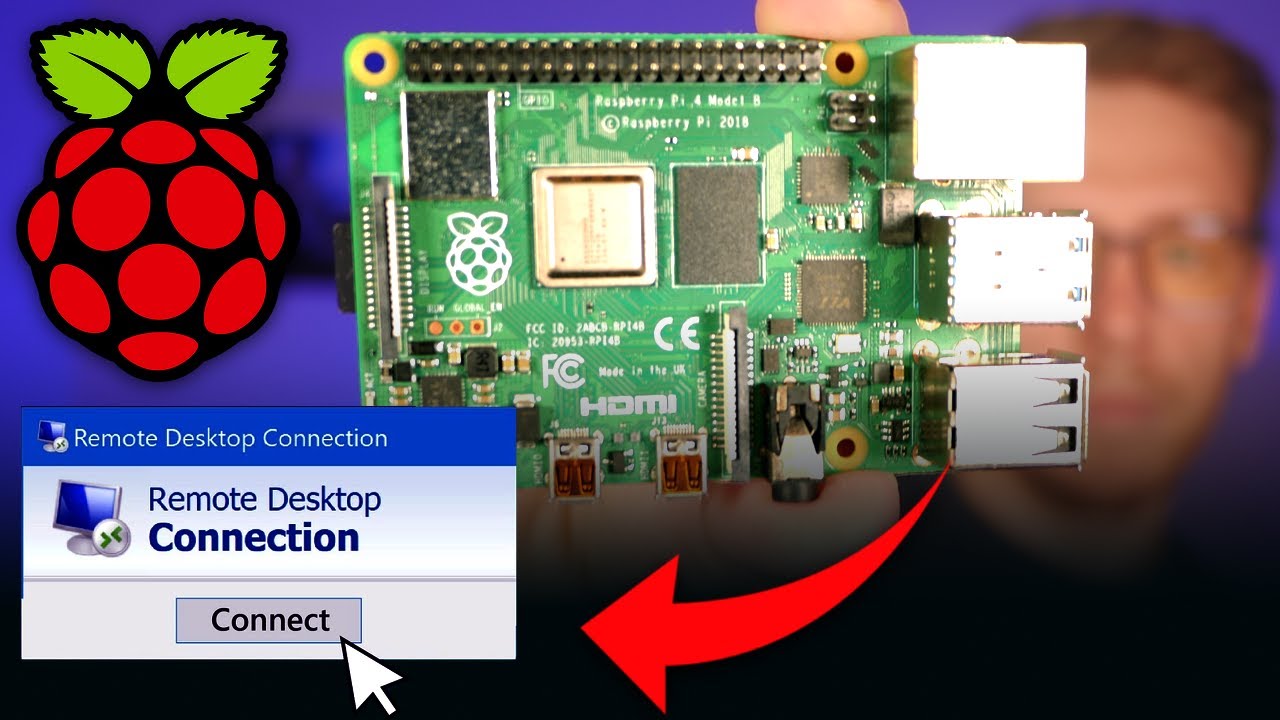
One of the most popular and user-friendly methods for remote desktop access is using the VNC (Virtual Network Computing) protocol. VNC works by mirroring the Raspberry Pi's screen and allowing you to control it with your mouse and keyboard. Think of it as a virtual extension cord, extending your Raspberry Pis desktop to your computer or even your smartphone. Setting up VNC is relatively simple, and several VNC server and client applications are available, making it a versatile choice for both beginners and experienced users. We will explore the process of installing and configuring a VNC server on your Raspberry Pi and connecting to it from various devices.
Another powerful approach is using SSH (Secure Shell) for remote access. While SSH doesnt provide a graphical desktop environment, it allows you to securely connect to your Raspberry Pi's command line interface (CLI). This is particularly useful for tasks like file transfer, running scripts, and system administration. SSH is known for its security features, offering a secure encrypted connection to your device. It's a foundational tool for anyone working with a Raspberry Pi, allowing you to manage your Pi remotely with confidence. We'll delve into the basics of setting up SSH and some advanced techniques.
Regardless of the method you choose, there are some prerequisites. First, youll need a Raspberry Pi with a working operating system (usually Raspberry Pi OS, formerly Raspbian). Ensure your Raspberry Pi is connected to your local network, either via Ethernet or Wi-Fi. Next, youll need a computer or device on the same network to connect to your Raspberry Pi. Finally, a stable internet connection is necessary for remote access. Consider a static IP address or dynamic DNS to make it easier to find your Raspberry Pi on the network. We will also touch on security measures you need to consider. By understanding these fundamental requirements, you'll be ready to embark on your journey into remote Raspberry Pi control.
Now, lets dive into the detailed steps for setting up VNC access. First, update your Raspberry Pis software by opening a terminal and running the command: `sudo apt update && sudo apt upgrade`. This ensures you have the latest software and security patches. Then, install a VNC server. One of the most popular choices is RealVNC. You can install it using the command: `sudo apt install realvnc-vnc-server`. During the installation, you'll likely be prompted to set a password for VNC access. Choose a strong password and remember it, as this is a crucial security step.
Once the VNC server is installed, you need to enable it. You can typically find this option within the Raspberry Pi configuration menu, often accessible through the Raspberry Pi icon in the top-left corner of the desktop. Navigate to 'Raspberry Pi Configuration' and select the 'Interfaces' tab. Then, enable VNC. After enabling VNC, you can connect to your Raspberry Pi from another device. On your computer, install a VNC client like RealVNC Viewer, which is available for various operating systems. Enter your Raspberry Pi's IP address and the VNC password you created earlier. And voila! You should see your Raspberry Pi's desktop appear on your screen. With this, you are able to access the Raspberry Pi's desktop remotely.
If you face connection issues, consider checking your network settings. Make sure your firewall isnt blocking VNC traffic (usually on port 5900). Also, ensure your Raspberry Pi and the device youre connecting from are on the same network. If you're trying to connect from outside your local network, you'll need to configure port forwarding on your router. This involves forwarding traffic on port 5900 (or the VNC port you configured) to your Raspberry Pi's local IP address. The exact steps for port forwarding vary depending on your router model; consult your routers manual or search online for instructions specific to your device.
Beyond VNC, SSH offers another powerful way to remotely interact with your Raspberry Pi. SSH allows you to access the command line, securely transfer files, and execute commands. To enable SSH, navigate to the Raspberry Pi configuration menu, similar to enabling VNC. Go to the 'Interfaces' tab and enable SSH. You can then connect to your Raspberry Pi from a terminal on your computer using the command: `ssh pi@`. Replace `` with your Raspberry Pi's IP address. You will be prompted for the password of your Raspberry Pi's default user (usually 'pi').
Once you've connected via SSH, you can execute commands on your Raspberry Pi as if you were sitting in front of it. This is immensely useful for tasks like updating software, managing files, and running scripts. SSH also supports secure file transfer (SFTP) using tools like FileZilla or the command-line tool `scp`. This is extremely useful for uploading and downloading files to and from your Raspberry Pi. SSH is a fundamental tool for Raspberry Pi users, providing a secure and efficient way to manage your device remotely. Remember that changing the default SSH port enhances security by making it harder for malicious actors to target your Raspberry Pi.
For enhanced security, consider changing the default SSH password for your pi user. It is also advisable to disable password-based login and switch to SSH key-based authentication. This approach uses cryptographic keys for authentication, making it significantly more secure than passwords. Another crucial security measure is to keep your Raspberry Pi's software up-to-date. Regularly run `sudo apt update && sudo apt upgrade` to ensure you have the latest security patches. Implement a firewall to control network traffic and block unwanted connections. Further, consider using a strong and unique password for your VNC server and, if you use port forwarding, configure it with a strong password for extra security.
Lets discuss the importance of port forwarding in the context of remote access. If you want to access your Raspberry Pi from outside your home network, youll need to configure port forwarding on your router. This is like creating a virtual doorway through your router, allowing external traffic to reach your Raspberry Pi. The specific steps for port forwarding depend on your router model, but generally involve accessing your router's configuration interface (usually through a web browser), finding the port forwarding or virtual server settings, and entering the port number (e.g., 5900 for VNC or 22 for SSH), the protocol (TCP), and your Raspberry Pis local IP address. Consider consulting your routers manual or searching online for specific instructions for your router model. But be careful not to expose too many ports. Consider only the ports you need.
Beyond VNC and SSH, there are other alternatives. For example, using a cloud-based remote access service can simplify setup and management, especially for users less familiar with network configuration. Services like TeamViewer or Chrome Remote Desktop offer straightforward remote access solutions that can be easier to set up than manual VNC or SSH configuration. These services often handle the complexities of network configuration for you, making them ideal for beginners. Note, however, that cloud-based solutions might have security implications.
Another method involves using a dynamic DNS service. A dynamic DNS service provides a consistent domain name for your Raspberry Pi, even if your public IP address changes. This is particularly useful if your internet service provider assigns dynamic IP addresses. The dynamic DNS service will automatically update your domain name to reflect your Raspberry Pi's current IP address, allowing you to connect without having to manually track your IP address changes. You can find several free dynamic DNS providers online; search for "dynamic DNS" to find options.
If you want to monitor your Raspberry Pi's usage, consider using tools for system monitoring. Tools like `htop` (for process monitoring), `df` (for disk space), and `ifconfig` or `ip addr` (for network configuration) can provide valuable insights into your Raspberry Pi's performance and resource usage. You can run these commands via SSH to remotely monitor your system. These tools are indispensable for understanding your Raspberry Pi's behavior and troubleshooting any issues. You could also implement logging and monitoring using dedicated server solutions, such as Prometheus and Grafana, to visualize your system's metrics.
Troubleshooting remote access issues can be challenging, but a systematic approach is helpful. First, verify your network connection. Ensure that your Raspberry Pi is connected to your network, and that the device youre connecting from has internet access. If using VNC, double-check the VNC server's status and settings on your Raspberry Pi. Ensure the server is running, and that you've entered the correct password and IP address in the VNC client. Also, check your firewall settings, as they can sometimes block incoming connections. For SSH, make sure SSH is enabled on your Raspberry Pi. If you're still facing problems, review your routers configuration for port forwarding settings, and consult online forums or documentation for specific error messages.
Optimizing performance is an important aspect of the remote access experience. For VNC, consider reducing the color depth or resolution in the VNC settings to minimize bandwidth usage. Using a wired Ethernet connection, rather than Wi-Fi, can also improve performance. If you're using SSH, make sure you are using an internet connection with a stable and strong internet connection. In addition to these tips, keep your Raspberry Pis operating system and software up-to-date to ensure the best performance. Regularly perform system maintenance, such as cleaning up temporary files and removing unnecessary software, to keep your Raspberry Pi running smoothly.
To make your life even easier, consider setting up scripts to automate remote access tasks. For example, you can write a script to automatically connect to your Raspberry Pi via SSH and execute a series of commands. These scripts can be run from your computer or from another device on your network. You can also use scripting to automate VNC connections or even automate system monitoring. Learning basic scripting is an invaluable skill for any Raspberry Pi user. Whether it's automating backups, running software, or controlling your home automation system, scripting allows you to maximize the potential of your Raspberry Pi.
In conclusion, remote access to your Raspberry Pi's desktop opens up a wealth of possibilities. By following these steps, you can effortlessly configure VNC or SSH access, allowing you to interact with your Raspberry Pi from anywhere with an internet connection. Remember to prioritize security by implementing strong passwords, updating your software regularly, and configuring your firewall appropriately. With a little bit of effort, you can unlock the full potential of your Raspberry Pi and enjoy the convenience and control that remote access provides. By embracing these methods, you can transform your Raspberry Pi from a simple device into a versatile and powerful tool that's always at your fingertips. And never forget to backup your data regularly. It's always better to be safe than sorry.


