Mastering Remote IoT Monitoring With SSH: Download Raspberry Pi, Ubuntu, And Windows Setup
Hey there tech enthusiasts! Today we're diving deep into the world of remote IoT monitoring using SSH. Whether you're a hobbyist or a professional developer, this guide is your ultimate companion. Remote IoT monitoring is no longer just a buzzword; it's a necessity in today's interconnected world. Stick around, and let's explore how to set up and download everything you need for seamless monitoring across Raspberry Pi, Ubuntu, and Windows platforms!
Remote IoT monitoring through SSH has become a game-changer for many industries. From home automation to industrial applications, the ability to remotely access and manage IoT devices is crucial. This article will walk you through the process step-by-step, ensuring you're equipped with the knowledge to make it happen.
Before we get started, let me assure you that this guide isn't just another tech jargon-filled piece. We'll break down complex concepts into bite-sized, easy-to-digest chunks. So, whether you're a seasoned pro or just starting out, this content is tailored to help you succeed. Let's get to it!
Read also:Unlock The Power Of Remote Iot Devices Free Your Ultimate Guide
What is Remote IoT Monitoring and Why Should You Care?
Alright, let's kick things off by answering the million-dollar question: what exactly is remote IoT monitoring? Simply put, it's the ability to monitor and manage IoT devices from anywhere in the world. This setup allows you to keep an eye on your devices without physically being present. Imagine being able to check on your smart home devices while sipping coffee on a beach thousands of miles away. Cool, right?
Remote monitoring offers several advantages, including increased efficiency, cost savings, and enhanced security. For businesses, it means fewer site visits and quicker issue resolution. For individuals, it means peace of mind knowing your devices are functioning as they should.
How Does SSH Fit into the Picture?
Secure Shell, or SSH, is the backbone of remote IoT monitoring. It provides a secure way to access your IoT devices over a network. SSH encrypts all data transmitted between your device and the server, ensuring that sensitive information remains protected. This is especially important when dealing with IoT devices, which can be prime targets for cyberattacks.
SSH also allows you to execute commands remotely, making it a powerful tool for managing your IoT setup. Whether you're troubleshooting an issue or updating software, SSH has got you covered.
Setting Up SSH on Raspberry Pi
Raspberry Pi is one of the most popular platforms for IoT projects, and setting up SSH on it is a breeze. First things first, you'll need to enable SSH on your Pi. This can be done either through the Raspberry Pi Configuration tool or by editing the config file.
- Enable SSH via Raspberry Pi Configuration: Navigate to Preferences > Raspberry Pi Configuration > Interfaces, and toggle SSH to Enabled.
- Enable SSH via Terminal: Open a terminal and type `sudo raspi-config`, then select Interfacing Options > SSH > Enable.
- Create an SSH file: If you're setting up headless, simply create an empty file named SSH on the boot partition of your SD card.
Once SSH is enabled, you can connect to your Pi using an SSH client like PuTTY or directly from your terminal. Just type `ssh pi@your-pi-ip-address` and enter the default password, which is usually `raspberry`.
Read also:Level Up Your Tech Game Remoteiot Monitoring Ssh Download On Raspberry Pi Ubuntu And Windows
Tips for Securing Your Raspberry Pi SSH Connection
Security should always be a top priority when setting up SSH. Here are a few tips to keep your Pi safe:
- Change the default password immediately.
- Use a non-standard port for SSH instead of the default 22.
- Disable root login and use a regular user account.
- Set up a firewall to restrict access to your SSH port.
SSH on Ubuntu: The Ultimate Guide
Ubuntu is another popular choice for IoT projects, and setting up SSH on it is just as straightforward as on Raspberry Pi. The first step is to install the OpenSSH server if it's not already installed. You can do this by running `sudo apt update` followed by `sudo apt install openssh-server`.
After installation, verify that SSH is running by typing `sudo service ssh status`. If everything checks out, you can now connect to your Ubuntu machine using an SSH client. Just like with Raspberry Pi, you'll need to know the IP address of your machine.
Tweaking SSH Configurations for Enhanced Security
Tweaking your SSH configuration can significantly improve security. Open the SSH config file by typing `sudo nano /etc/ssh/sshd_config` in your terminal. Here are a few changes you can make:
- Change the port number from 22 to something less common.
- Set `PermitRootLogin` to `no` to disable root login.
- Set `PasswordAuthentication` to `no` to disable password-based authentication and use SSH keys instead.
Once you've made your changes, don't forget to restart the SSH service using `sudo service ssh restart`.
SSH on Windows: Making It Work
Believe it or not, SSH works just as well on Windows as it does on Linux-based systems. Windows 10 and later versions come with an OpenSSH client pre-installed, making it easier than ever to set up remote connections.
To enable SSH on Windows, follow these steps:
- Open the Settings app and navigate to Apps > Optional Features.
- Click on Add a feature and search for OpenSSH Client.
- Select it and click Install.
Once installed, you can connect to your IoT devices using the command prompt or PowerShell. Just type `ssh username@ip-address` and hit enter.
Using PuTTY for Windows SSH Connections
PuTTY is a popular SSH client for Windows and offers a graphical interface for connecting to your devices. Here's how to use it:
- Download and install PuTTY from the official website.
- Open PuTTY and enter the IP address of your device in the Host Name field.
- Select SSH as the connection type and click Open.
That's it! You're now connected to your IoT device via SSH on Windows.
Downloading the Necessary Software
Now that we've covered the basics of SSH setup, let's talk about downloading the necessary software for your IoT monitoring project. Depending on your platform, you'll need different tools and applications.
Downloading Raspberry Pi OS
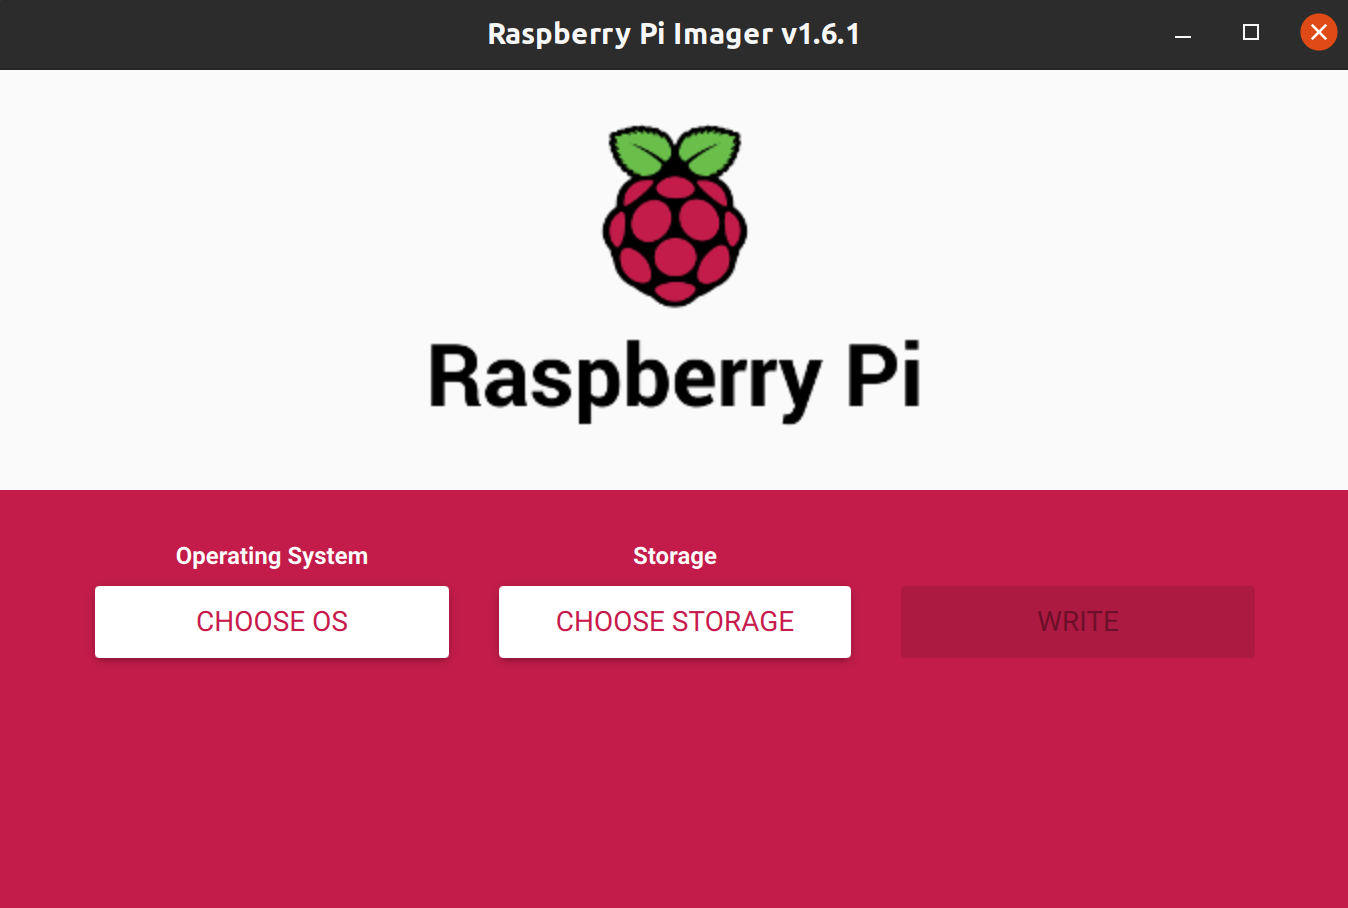
Raspberry Pi OS is the official operating system for Raspberry Pi devices. You can download it from the official Raspberry Pi website. Once downloaded, use a tool like BalenaEtcher to flash the image onto your SD card.
Downloading Ubuntu
For Ubuntu, head over to the official Ubuntu website and download the version that suits your needs. You can choose between the desktop and server editions, depending on your project requirements.
Downloading SSH Clients for Windows
As mentioned earlier, Windows comes with a built-in SSH client. However, if you prefer a graphical interface, PuTTY is an excellent choice. Download it from the official website and follow the installation instructions.
Best Practices for Remote IoT Monitoring
Now that you have everything set up, let's talk about best practices for remote IoT monitoring. These tips will help you maintain a secure and efficient setup:
- Regularly update your software and firmware to patch security vulnerabilities.
- Monitor your devices for unusual activity and set up alerts for suspicious behavior.
- Use strong, unique passwords and enable two-factor authentication wherever possible.
- Keep detailed logs of all activity for troubleshooting and auditing purposes.
Automating Your IoT Monitoring
Automation can save you a lot of time and effort in the long run. Consider setting up scripts to automate routine tasks like backups, updates, and monitoring. Tools like Cron on Linux and Task Scheduler on Windows can help you schedule these tasks.
Common Issues and Troubleshooting
Even with the best setup, issues can arise. Here are some common problems and how to fix them:
- Connection Issues: Ensure that your device is connected to the network and that the IP address is correct.
- Authentication Failures: Double-check your username and password, and ensure that SSH keys are correctly configured.
- Slow Connections: Optimize your network settings and consider using a wired connection instead of Wi-Fi.
When to Seek Professional Help
If you're stuck and can't resolve the issue on your own, it might be time to seek professional help. Look for forums, communities, or even hire a consultant if the problem persists.
Conclusion: Your Journey into Remote IoT Monitoring
And there you have it, folks! A comprehensive guide to mastering remote IoT monitoring with SSH on Raspberry Pi, Ubuntu, and Windows. Whether you're setting up a smart home or managing industrial IoT devices, the skills you've learned here will serve you well.
Don't forget to share your experiences and tips in the comments below. And if you found this guide helpful, consider sharing it with your fellow tech enthusiasts. Happy monitoring, and see you in the next one!
Table of Contents
- What is Remote IoT Monitoring and Why Should You Care?
- Setting Up SSH on Raspberry Pi
- SSH on Ubuntu: The Ultimate Guide
- SSH on Windows: Making It Work
- Downloading the Necessary Software
- Best Practices for Remote IoT Monitoring
- Common Issues and Troubleshooting
- Automating Your IoT Monitoring
- Tips for Securing Your SSH Connections
- Conclusion: Your Journey into Remote IoT Monitoring


