Secure Your Data: Raspberry Pi VPN Setup Guide
Are you concerned about online security and privacy in today's digital landscape? Setting up a VPN gateway on a Raspberry Pi offers a powerful, cost-effective, and highly secure solution for protecting your digital life.
The modern internet presents a minefield of potential threats, from hackers and eavesdroppers to intrusive ISPs and third-party data collectors. Commercial VPN services offer a degree of protection, but they often come with limitations in terms of security, logging policies, and overall control. Building your own VPN server on a Raspberry Pi provides a more robust and customizable approach, allowing you to take charge of your online privacy and security.
Before we proceed, its worth noting that setting up a VPN server, particularly one that is highly secure, can appear complicated. Normally, the process includes installing software, generating encryption keys, configuring firewall rules, and assigning a static IP address to your Raspberry Pi. There are many VPN providers, I have tested a few of them. However, this guide will focus on leveraging the simplicity and security offered by PiVPN, a tool that streamlines the entire process.
PiVPN simplifies the process of setting up OpenVPN or WireGuard servers on your Raspberry Pi, eliminating the need for complex manual configurations. It automates tasks such as software installation, key generation, and security hardening. This results in a secure VPN server in a fraction of the time it would take to do so manually. In this guide, we'll delve into the practical steps of setting up a VPN gateway, fortifying your online presence with an easy-to-implement, custom-built security fortress.
Let's explore the essential components and considerations. You'll need a Raspberry Pi (the Raspberry Pi 4 with 2GB of RAM is a great option), a microSD card with the Raspberry Pi OS installed, a reliable internet connection, and a basic understanding of networking concepts. While some tutorials may suggest installing a desktop environment, we recommend skipping that step to keep the setup lean and focused on the VPN functionality. The process is user-friendly, but the underlying security configuration is anything but simplistic, thanks to the robust security settings that are enabled by default.
Essential Components
The following components are critical to setting up a VPN on your Raspberry Pi:
- Raspberry Pi: The core of your VPN server, responsible for handling all the traffic.
- MicroSD Card: Where the Raspberry Pi OS will reside.
- Network Connection: Essential to establish an internet connection to enable online access.
- PiVPN: This is your go-to tool for automated VPN server setup.
Security Considerations
Security is paramount. By installing a VPN on your Raspberry Pi, you are essentially constructing a secret fortress for your digital data. However, just like any fortress, it needs regular inspections and continuous reinforcement to stay secure.
When setting up, it is very important to start by ensuring your Raspberry Pi has an updated operating system. Outdated software is like an open window for cyber threats. Running the latest version provides necessary security patches and updates. This is a must to do. When setting up your Raspberry Pi, it's a must to fortify your Raspberry Pi's security wall.
The openvpn protocol, despite its complexities, provides a robust foundation. However, WireGuard is an excellent choice for many users. In several tests, it has turned in the fastest test results we've ever seen. NordVPN is a good choice when running the wireguard protocol. It allows you to connect your raspberry pi (and other devices) to their network of over 5,100 servers spread across 60 countries using either the openvpn or nordlynx protocols.
Now let's talk about the process of securing your Raspberry Pi. First, it's important to fortify your Raspberry Pi's security wall.
Setting Up PiVPN
PiVPN simplifies the VPN setup process. It installs the necessary software, configures the firewall, and generates encryption keys for a secure connection. PiVPN, bar none, is the simplest and fastest way to install and set up an extremely secure OpenVPN or WireGuard server on your Raspberry Pi. Heres how to proceed:
- Update Your System: Begin by updating your Raspberry Pi's operating system.
- Install PiVPN: PiVPN is very easy to install, following the on-screen prompts will suffice.
- Choose Your VPN Protocol: Select either OpenVPN or WireGuard.
- Configure Your VPN Server: Follow the prompts to generate the necessary configuration files.
- Configure Port Forwarding: Make sure you configure your router to forward the appropriate ports to your Raspberry Pi.
- Connect Your Clients: Once setup is complete, you can connect your devices.
Understanding VPN Concepts
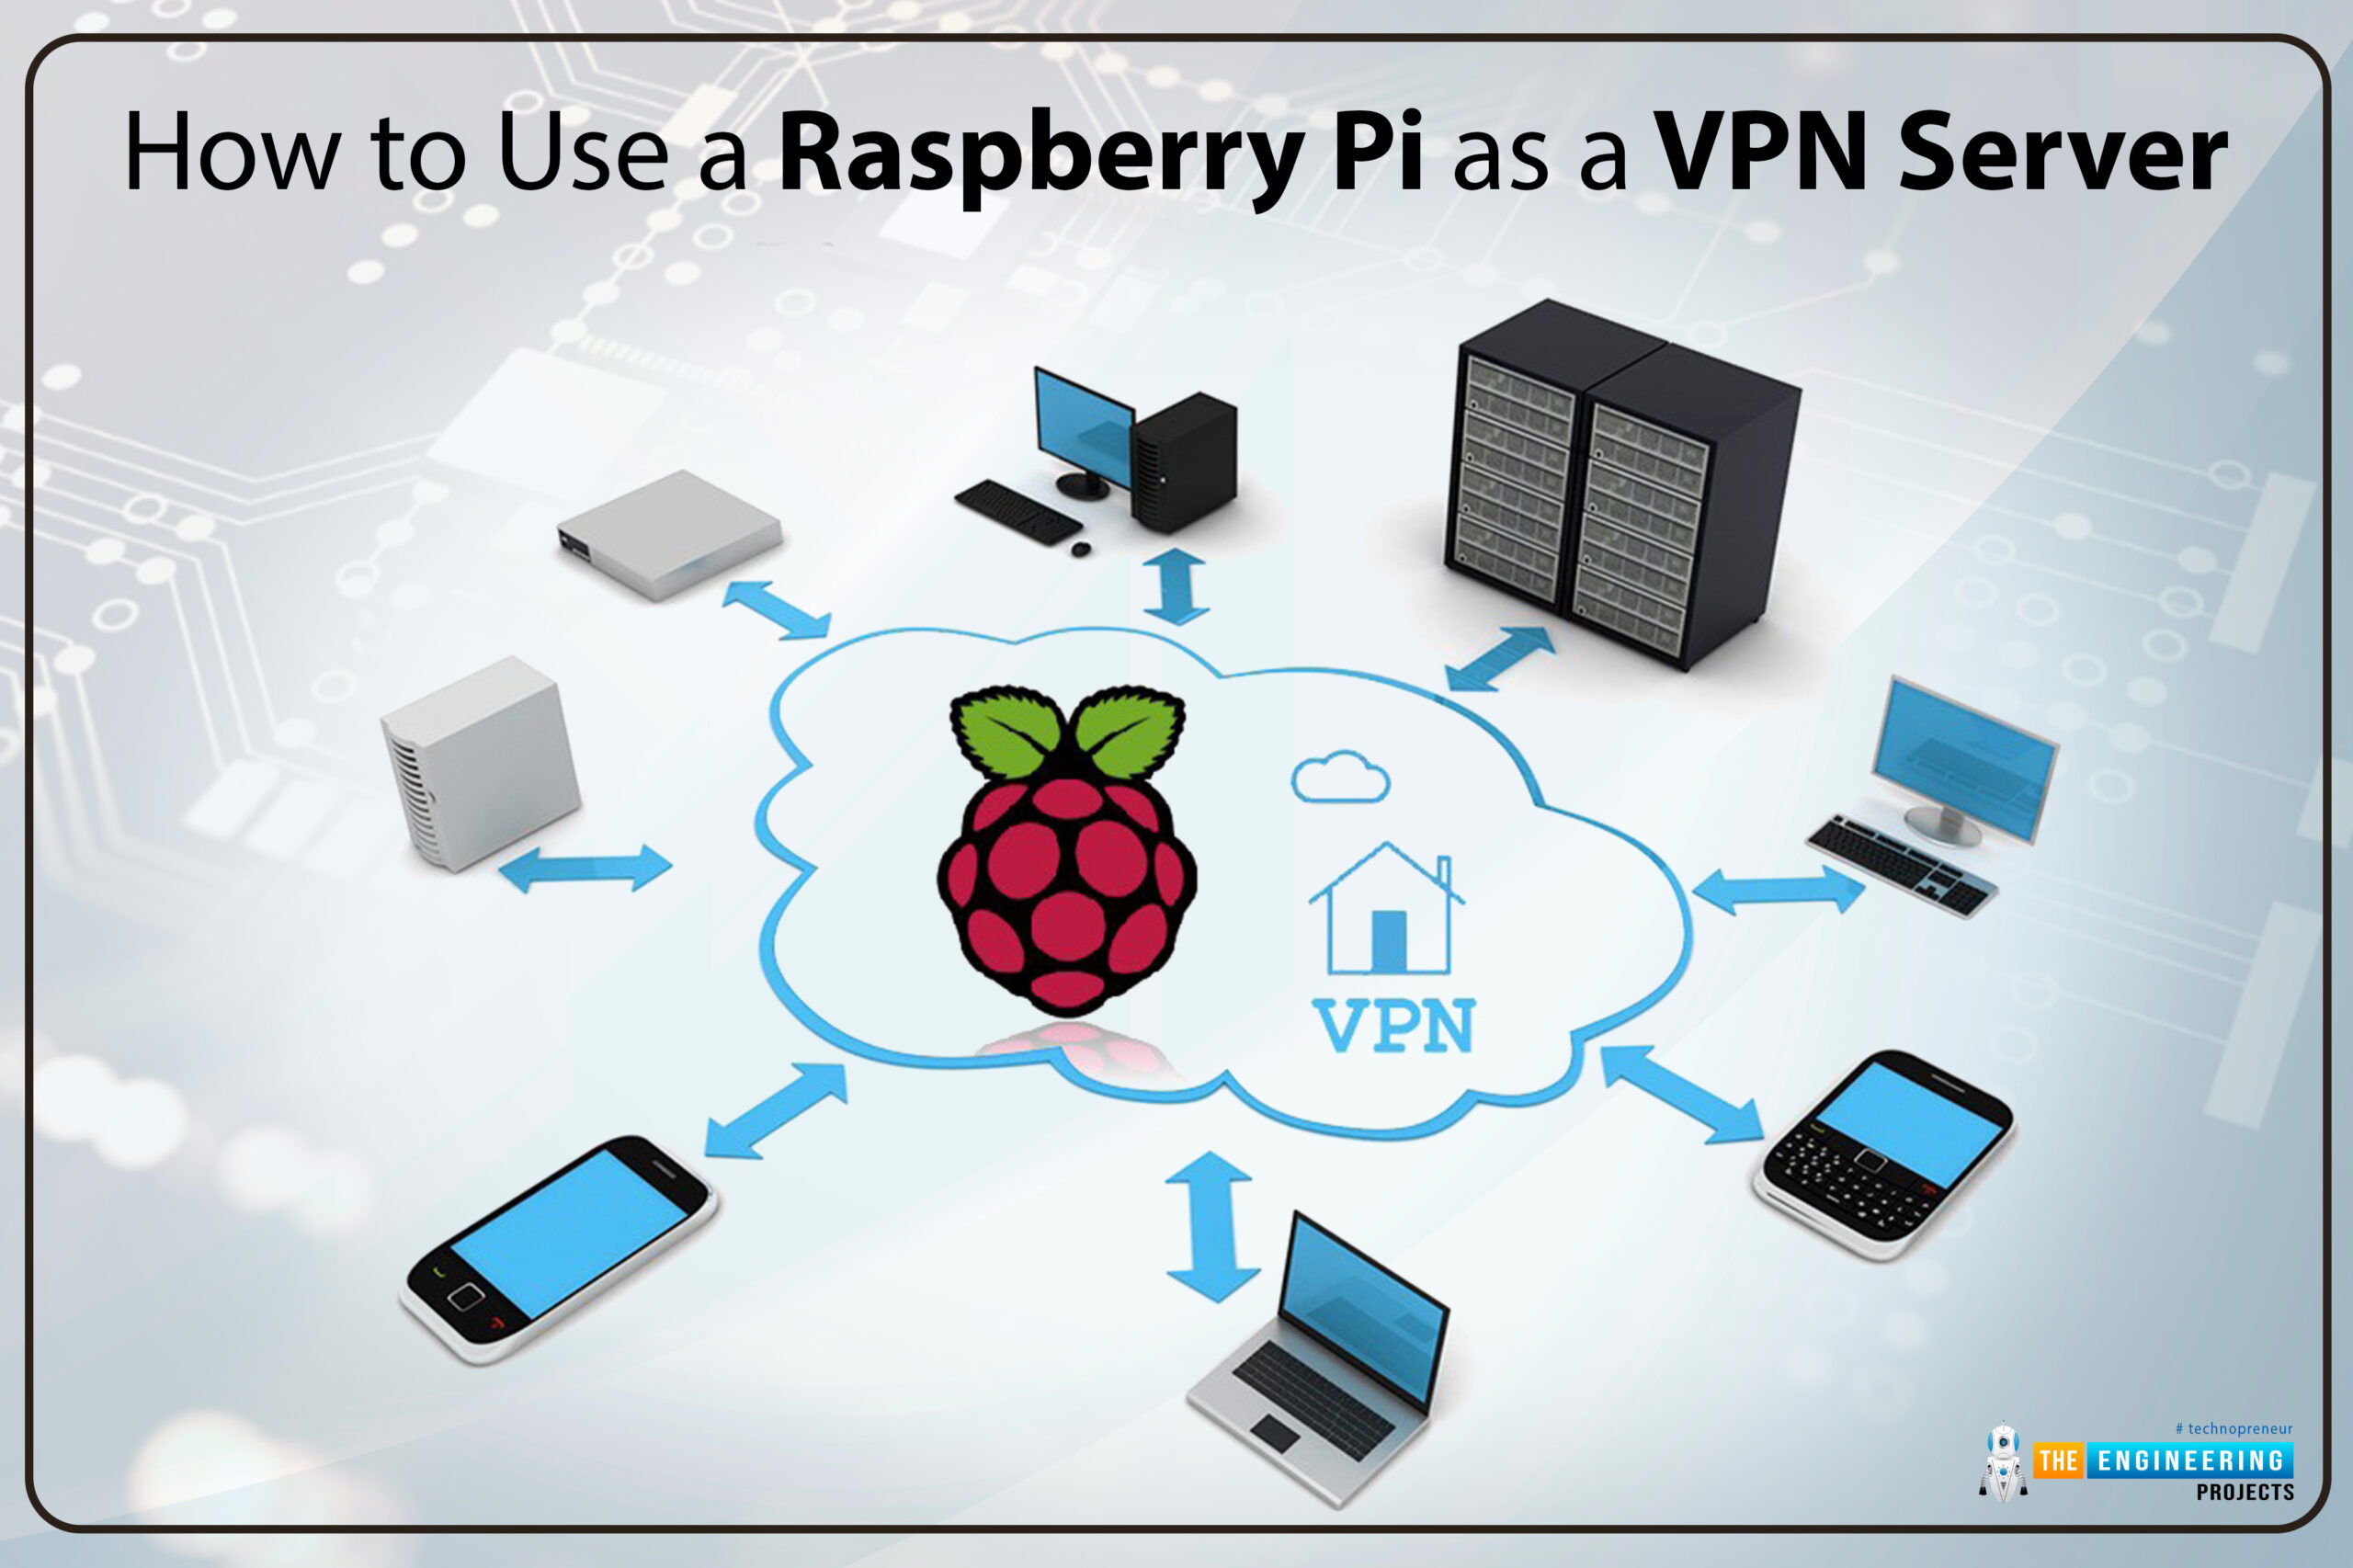
A VPN server (Virtual Private Network server) is a system that allows devices to connect to a private network securely over the internet. It creates an encrypted tunnel between the client, like your laptop or phone, and the server, which protects your data from eavesdropping and ensures privacy. This process is like building a secret fortress for your data.
By creating a private tunnel, a VPN server ensures that your data is safe from hackers, ISPs, and third parties. It helps in remote access and enhances security. While it's not completely anonymous, home-rolled OpenVPN with hardening is a much better option than relying on commercial VPN services. For this tutorial, I have chosen Surfshark.
Advanced Configurations
While PiVPN handles most of the setup, there are advanced configurations available if you need to implement more fine-grained controls. You can customize the servers configurations to suit your specific needs.
Important Port Forwarding
Port forwarding is critical to establishing a VPN gateway on a Raspberry Pi. You will likely need to forward UDP 1194 from the public internet to the private IP address of the access server on your Raspberry Pi behind your firewall.
WireGuard and OpenVPN
PiVPN supports both WireGuard and OpenVPN, enabling you to create a secure, private tunnel to your home network or VPS. Both protocols have their strengths, with WireGuard often offering faster speeds and lower overhead.
The Final Step
The final step is to connect VPN clients to your Raspberry Pi running the access server. Make sure to test your connection and verify your IP address to confirm everything is working as expected.
By creating your own VPN server with a Raspberry Pi, you not only enhance your privacy and security but also gain complete control over your online data. It's a proactive approach in an increasingly digitized world. This guide will show you how to do it, offering rock-solid security.
Here is a simple table to summarize the steps:
| Step | Action | Details |
|---|---|---|
| 1 | Get a Raspberry Pi | Use Raspberry Pi 4 with 2GB RAM |
| 2 | Install Raspberry Pi OS | Flash to an SD card |
| 3 | Update the system | Run sudo apt update and sudo apt upgrade |
| 4 | Install PiVPN | Follow the installation prompts |
| 5 | Choose your VPN protocol | Select OpenVPN or WireGuard |
| 6 | Configure VPN server | Answer prompts |
| 7 | Forward Ports | UDP 1194 is typical |
| 8 | Connect Clients | Install VPN client software |


