Set Up A Raspberry Pi VPN Server: Your Privacy Guide
Can you transform your everyday internet connection into a fortress of privacy and security? The answer lies in the surprisingly powerful and affordable world of the Raspberry Pi VPN server, a project that empowers you to reclaim control of your online experience.
The allure of a Virtual Private Network (VPN) is undeniable. It promises to cloak your digital footprint, shielding your data from prying eyes and granting access to content that might otherwise be restricted. While commercial VPN services offer a convenient solution, they come with their own set of limitations: subscription fees, potential privacy concerns depending on the provider, and a lack of granular control over your network configuration. This is where the Raspberry Pi steps in, offering a compelling alternative a DIY VPN server that puts you firmly in the driver's seat. By leveraging the Raspberry Pi's compact size, low power consumption, and open-source nature, you can build a customized VPN gateway that perfectly aligns with your privacy needs and technical aspirations.
Before delving into the specifics of setting up a Raspberry Pi VPN server, it's crucial to understand the core components involved. At its heart, the project revolves around routing your internet traffic through a secure tunnel, effectively masking your true IP address and encrypting your data. This tunnel is established between your devices (clients) and your Raspberry Pi, which acts as a gateway to the internet. This setup offers several key benefits. First and foremost, it enhances your online privacy by concealing your browsing activity from your internet service provider (ISP) and other potential eavesdroppers. Second, it allows you to access geo-restricted content, such as streaming services or websites that are blocked in your region. Third, it adds an extra layer of security to your home network, protecting your devices from potential cyber threats, particularly when connected to public Wi-Fi networks. Finally, by acting as a gateway, the Raspberry Pi can also facilitate secure remote access to your home network, allowing you to access files and services from anywhere in the world.
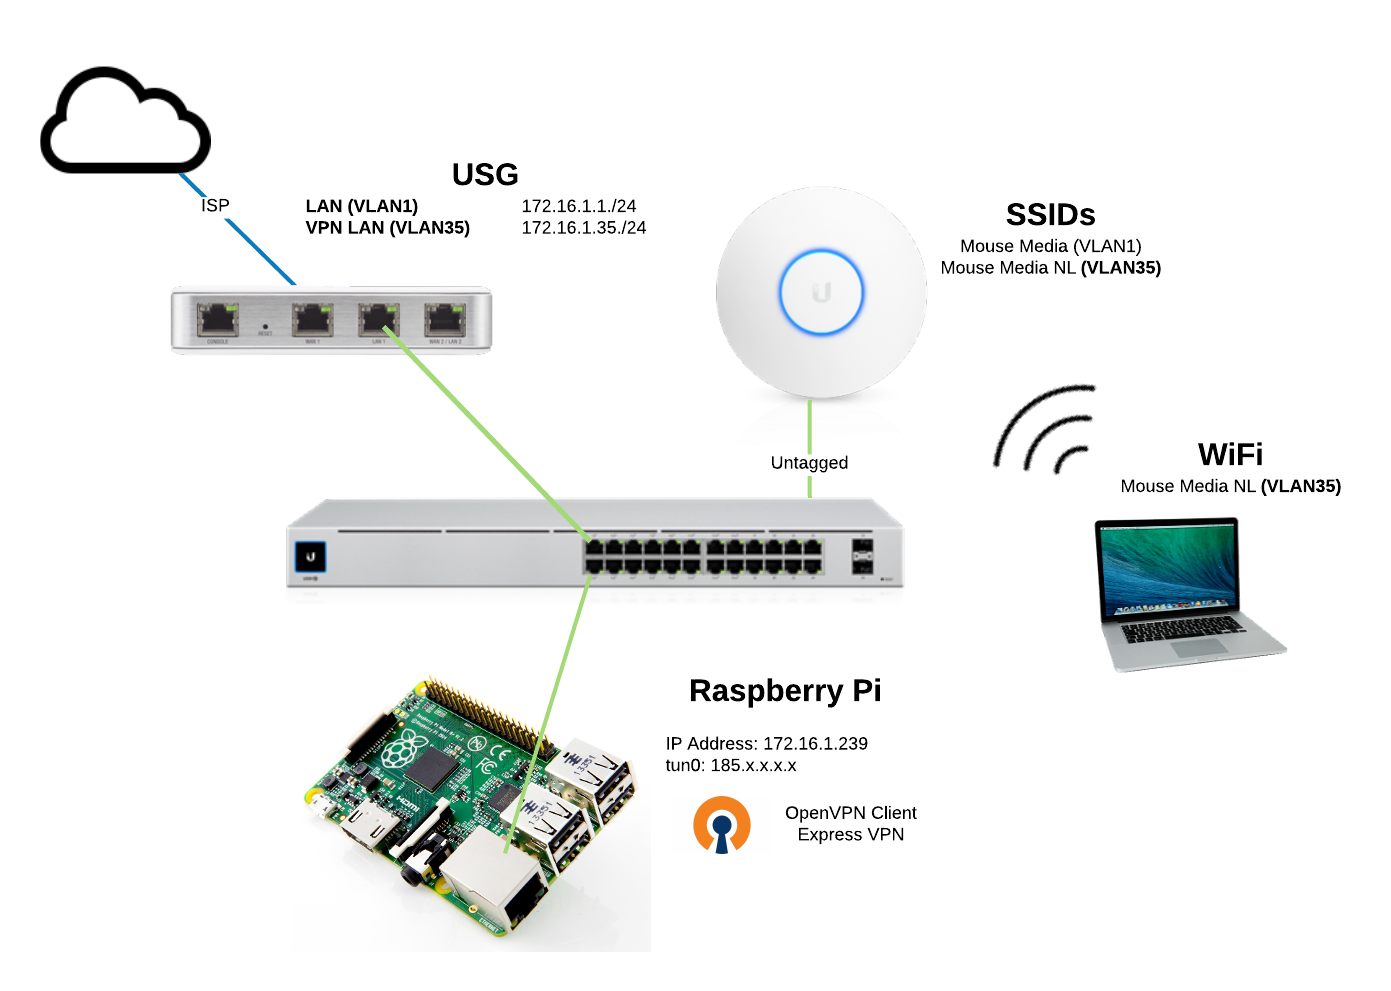
The creation of a Raspberry Pi VPN gateway begins with connecting the Raspberry Pi to a VPN provider. This initial step is essential, as it establishes the secure tunnel that will route all of your internet traffic. Choosing a VPN provider is a crucial decision, as it directly impacts your privacy and security. The provider should offer strong encryption protocols, a no-logs policy, and a global network of servers to ensure optimal performance and access to content. Once you have selected a VPN provider, you will need to configure your Raspberry Pi to connect to their servers. This typically involves installing the provider's client software or manually configuring a VPN connection using protocols like OpenVPN or WireGuard.
Following the establishment of the VPN connection, the Raspberry Pi must be configured as an access point. This configuration is the key to the gateway functionality, allowing the Pi to act as a router and forward all incoming traffic through the VPN service. This is where the Raspberry Pi's capabilities as a small, low-power computer shine. By acting as the central point of contact for all your internet-connected devices, the Raspberry Pi ensures that all traffic is routed through the secure VPN tunnel, protecting your privacy and enabling access to geo-restricted content across all of your devices.
One of the significant advantages of a Raspberry Pi VPN gateway is the ability to implement a firewall to protect the hosted services. By installing a firewall on the Raspberry Pi, you can control the flow of network traffic, blocking unauthorized access and mitigating potential security risks. This adds another layer of protection, preventing malicious actors from gaining access to your home network or the data stored on your devices. This is especially important if you host any services, such as a file server or a web server, on your home network, as the firewall can help prevent unauthorized access to these services.
Setting up a Raspberry Pi VPN server, although rewarding, can appear complex. It involves installing software, generating encryption keys, adding ports to the firewall, configuring a static IP address, and more. The process is not plug-and-play, requiring some technical knowledge and patience. However, the comprehensive guides and online resources make it a manageable project, even for those with limited experience in networking or Linux. While the technical aspects may seem daunting, the benefits of enhanced privacy, secure remote access, and complete control over your network make the effort worthwhile.
The process begins with installing the necessary software on your Raspberry Pi. This usually involves a choice between VPN protocols, with OpenVPN and WireGuard being popular options. OpenVPN is a versatile and well-established protocol, known for its security and broad compatibility. WireGuard, on the other hand, is a newer protocol designed for speed and simplicity, offering excellent performance and a streamlined configuration process. The choice of protocol depends on your specific needs and preferences, with both options offering robust security and privacy. The software installation typically involves using the command line to install the necessary packages from your Raspberry Pi's operating system repository.
After installing the software, the next step is to generate encryption keys. These keys are the digital fingerprints that verify your identity and encrypt your data, ensuring secure communication between your devices and the VPN server. The encryption process is crucial for protecting your data from eavesdropping and unauthorized access. The specific steps for generating encryption keys will vary depending on the VPN protocol you choose. For OpenVPN, you will typically need to generate a server key, a client key, and a Diffie-Hellman key exchange parameter. For WireGuard, the process is generally simpler, involving the generation of public and private keys for both the server and the clients.
For the VPN to function correctly, you must add the relevant port to the firewall. For OpenVPN, the default port is UDP 1194. For WireGuard, the default port is UDP 51820. The firewall acts as a gatekeeper, controlling the flow of network traffic into and out of your Raspberry Pi. By opening the necessary port, you allow VPN traffic to pass through the firewall, enabling communication between your devices and the VPN server. The firewall rules are typically configured using the `ufw` command-line tool, which is a user-friendly interface for managing the firewall. The command `sudo ufw allow 1194/udp` (for OpenVPN) or `sudo ufw allow 51820/udp` (for WireGuard) opens the respective ports.
To ensure seamless connectivity, you should set your Raspberry Pi to have a static IP address. A static IP address remains constant, unlike a dynamic IP address which can change over time. This is essential for the VPN server to be accessible from the outside world. The process of setting a static IP address involves configuring the network settings of your Raspberry Pi. The specific steps will vary depending on your operating system and network configuration. In most cases, you will need to edit the network configuration file, specifying the static IP address, the subnet mask, the gateway, and the DNS servers.
The final step is to connect VPN clients to your Raspberry Pi. This involves installing the appropriate VPN client software on your devices, such as your computer, smartphone, or tablet. The client software will then connect to your Raspberry Pi VPN server using the credentials you created during the setup process. Once connected, all of your internet traffic will be routed through the secure VPN tunnel, protecting your privacy and allowing you to access geo-restricted content. The specific steps for connecting VPN clients will vary depending on the VPN protocol and the client software you are using. However, the general process involves configuring the client with the server's IP address, the port number, and your VPN credentials.
A key step in securing your Raspberry Pi VPN server is to use strong VPN credentials. This includes a strong username and password for accessing the VPN server. The credentials should be complex and unique, making it difficult for unauthorized individuals to guess or crack them. It is essential to avoid using easily guessable information, such as your name, date of birth, or common words. To further enhance security, consider using a password manager to generate and store strong passwords. Regularly updating your credentials is also a good practice, especially if you suspect any security breaches.
Enabling a firewall is another essential step in securing your Raspberry Pi VPN server. The firewall acts as a barrier between your server and the outside world, blocking unauthorized access to your network. You can use the `ufw` command-line tool to enable the firewall and configure the necessary rules. For example, the command `sudo ufw allow 51820/udp` (for WireGuard) or `sudo ufw allow 1194/udp` (for OpenVPN) allows VPN traffic to pass through the firewall. In addition to allowing VPN traffic, you should also consider blocking all other incoming traffic by default, only opening the ports that are absolutely necessary for your server to function. Regular review of your firewall rules and adjusting them as needed is crucial for maintaining the security of your server.
Setting up a Raspberry Pi as a VPN server is not only an affordable project, but also a rewarding one. It provides enhanced online privacy and secure access to your home network from anywhere. The cost of the Raspberry Pi itself is minimal compared to commercial VPN subscriptions, making it an attractive option for budget-conscious users. The customization options allow you to tailor the VPN to your specific needs and preferences, adding another layer of personalization. The project itself is also a great learning experience, providing valuable insights into networking, security, and Linux administration.
The choice between WireGuard and OpenVPN is critical when configuring your Raspberry Pi VPN. WireGuard is known for its speed and simplicity, making it an excellent choice for users who prioritize performance and ease of setup. OpenVPN is a more established protocol that offers greater versatility and compatibility. It is generally considered more secure and is supported by a wider range of devices and operating systems. The choice depends on your specific needs and preferences. If you prioritize speed and ease of use, WireGuard is a good option. If you require broader compatibility and enhanced security, OpenVPN is a better choice.
To effectively manage and monitor your network, the security of your Raspberry Pi VPN server is paramount. This involves multiple steps, including changing the default SSH port, configuring a firewall, and regularly updating your system. Changing the default SSH port from 22 to a custom port above 1024 can help reduce automated attacks. This prevents attackers from easily accessing your server through the default port. The default port for OpenVPN is 1194, which needs to be forwarded from the public internet to the private IP address of your access server on your Raspberry Pi behind the firewall. Remember to create a port forwarding rule in your firewall to forward all VPN traffic to the IP address of your Raspberry Pi.
A Raspberry Pi VPN server offers a great way to establish VPN remote access in numerous situations. Whether you are traveling and want to access your home network securely, or you are working remotely and need a secure connection to your company's network, a Raspberry Pi VPN server can be the perfect solution. It provides a secure and private tunnel through which you can access your files, services, and applications from anywhere in the world. This is particularly useful if you need to access sensitive data or if you are concerned about the security of public Wi-Fi networks.
To connect to your Raspberry Pi VPN server, you will need to tell your firewall to forward all VPN traffic to the IP address of your Raspberry Pi. This is typically done by creating a port forwarding rule in your router's configuration. The default port for OpenVPN is 1194. In your firewall, create a port forwarding rule for port 1194 (or the port you have chosen) to the IP address of your Raspberry Pi. This ensures that all incoming VPN traffic is directed to your server.
When considering the practicality of a Raspberry Pi VPN server, it's important to acknowledge its limitations. While it offers significant benefits in terms of privacy, security, and remote access, it is not a perfect solution. One of the primary limitations is the processing power of the Raspberry Pi itself. The Raspberry Pi is a small and low-powered computer, and it may not be able to handle high-bandwidth VPN connections effectively. This can result in slower internet speeds, especially when using a VPN. It is also important to note that the performance of the VPN server will depend on your internet connection speed and the VPN provider's server infrastructure.
Another limitation is the complexity of the setup process. Setting up a Raspberry Pi VPN server requires some technical knowledge and can be time-consuming. While there are many tutorials and guides available, the process still involves configuring software, generating encryption keys, and managing your network settings. Furthermore, the Raspberry Pi's performance and the internet speed you get will also depend on the model of the Raspberry Pi you are using. Newer models like the Raspberry Pi 5 offer significant performance improvements over older models, but still have their limitations.
The Raspberry Pi 5 is a significant advancement for VPN setups. It offers improved performance, making it a more viable option for handling higher bandwidth VPN connections. It also provides cost efficiency, as the Raspberry Pi is generally less expensive than traditional servers. It offers better energy savings due to its low power consumption. Compared to a commercial VPN, a Raspberry Pi VPN provides customization options to tailor the configuration to your specific needs. You can choose your VPN protocol, encryption settings, and other parameters. By using a Raspberry Pi 5, users can mitigate performance concerns while benefiting from the other advantages.
To successfully implement a Raspberry Pi VPN setup, a basic foundation is required. You will need a Raspberry Pi 5 running the latest version of Raspberry Pi OS. This ensures that you have access to the latest software updates and security patches. You'll also need a reliable power supply to prevent unexpected shutdowns and data loss. Finally, a stable and fast internet connection is critical for a good VPN experience. The faster your internet speed, the better the performance of your VPN.
Beyond these essential components, there are further considerations. While the basic setup is free, you'll need to consider the costs associated with a VPN provider if you choose to use one. Also, you must open a port through your firewall to enable VPN traffic. The default port is typically UDP 51820 for WireGuard, but your specific configuration may vary. Each router and firewall has its own option for port forwarding. Consult your router's documentation for instructions on port forwarding. Correctly configuring the port forwarding is essential for allowing VPN traffic to pass through your firewall and reach your Raspberry Pi.
In your firewall, to get remote access, you will need to forward traffic on port 1194 (or the port you've configured) to the internal IP address of your Raspberry Pi. The exact instructions for this depend on your specific router. The process involves logging into your router's configuration interface, usually through a web browser, and finding the port forwarding section. You will then need to create a new port forwarding rule, specifying the port number (1194 or your custom port), the protocol (UDP), and the internal IP address of your Raspberry Pi. Once the port forwarding is correctly set up, you should be able to connect to your VPN server from any location and access your home network securely.
To enhance the security of your Raspberry Pi VPN server, remember to change the default SSH port from 22 to a custom port above 1024. This significantly reduces the risk of automated attacks. Hackers frequently target the default SSH port to try to gain unauthorized access to your server. By changing the port, you can effectively thwart these automated attacks. In addition, change the default SSH port from 22 to a custom port above 1024 to reduce automated attacks.
Before delving into the setup, ensure you have the following: A Raspberry Pi 5 with the latest operating system (Raspberry Pi OS), a reliable power supply and internet connection, and strong VPN credentials and enable a firewall. Setting up a Raspberry Pi as a VPN server is an affordable and rewarding project that enhances your online privacy and offers secure access to your home network from anywhere.


