How To Remotely Connect To Your Raspberry Pi From Mac
Is the thought of accessing your Raspberry Pi from your Mac, from anywhere in the world, a distant dream? It shouldn't be. In today's interconnected landscape, establishing a secure and reliable remote connection to your Raspberry Pi from your Mac is not only achievable but also remarkably straightforward, unlocking a wealth of possibilities from home automation to advanced coding projects. The power to control and interact with your Pi, regardless of your physical location, is at your fingertips, and this piece will guide you through the process.
The ability to remotely connect to a Raspberry Pi from a Mac bridges the gap between physical limitations and digital control. Imagine debugging code, monitoring sensors, or simply accessing your home media server while you're away. The benefits are manifold, encompassing convenience, enhanced productivity, and the potential for exciting new projects. The journey, while involving a few key steps, is ultimately a rewarding one. Whether you are a seasoned developer or a newcomer to the world of Raspberry Pi, establishing a secure remote connection opens up a world of possibilities. From managing your smart home devices to deploying intricate IoT projects, the capability to control your Pi from your Mac is a powerful tool that can greatly enhance your workflow. This detailed guide unveils the essential strategies, from initial setup to advanced security protocols, empowering you to confidently access your Raspberry Pi from your Mac, anytime, anywhere.
The core of this capability rests on understanding the different methods available. While several approaches can be employed, the two most common methods involve using Secure Shell (SSH) and Virtual Network Computing (VNC). SSH provides a secure command-line interface, perfect for tasks such as file transfer, software installation, and system administration. VNC, on the other hand, allows you to view and interact with the Raspberry Pi's desktop environment, offering a more visual and interactive experience.
SSH, short for Secure Shell, is a cryptographic network protocol that provides a secure channel over an unsecured network. It allows you to securely log into a remote system, execute commands, and transfer files. It is a fundamental tool for managing and interacting with your Raspberry Pi from a Mac. Its importance cannot be overstated, as it forms the bedrock of secure remote access.
To establish an SSH connection, the Raspberry Pi needs to have SSH enabled. Typically, this is enabled by default on newer Raspberry Pi OS distributions. However, it is always advisable to confirm its status. You can enable SSH through the Raspberry Pi configuration tool (raspi-config) or by creating an empty file named "ssh" in the boot partition of your SD card before the first boot. This ensures that SSH is enabled automatically during the initial setup process.
Once SSH is enabled on the Raspberry Pi, connecting from your Mac requires only a few simple steps. Open the Terminal application on your Mac. Then, you will need to know your Raspberry Pi's IP address. You can find this by connecting your Raspberry Pi to a monitor and keyboard, or by checking your router's configuration page, if your router offers the function to check the devices attached to it. You can also use a network scanner app on your Mac to scan for devices on your network. The general format for an SSH connection is: ssh pi@. Replace "" with the actual IP address of your Raspberry Pi. For example, if the IP address is 192.168.1.100, you would type: ssh pi@192.168.1.100. Upon entering the command and pressing Enter, the system will prompt you for your Raspberry Pi password. Enter the password and you will be logged in to the Raspberry Pi's command-line interface. This gives you immediate access to its system.
Once connected via SSH, you can execute commands directly on your Raspberry Pi. The possibilities are vast, from updating system software and installing new packages to configuring network settings and managing files. This command-line access provides a powerful and efficient way to control your Raspberry Pi. For example, to update the system, you would run the command: sudo apt update && sudo apt upgrade. To install a new package, such as a text editor, you could run: sudo apt install nano. The ability to manipulate your Raspberry Pi from the command line gives you granular control over its functionality.
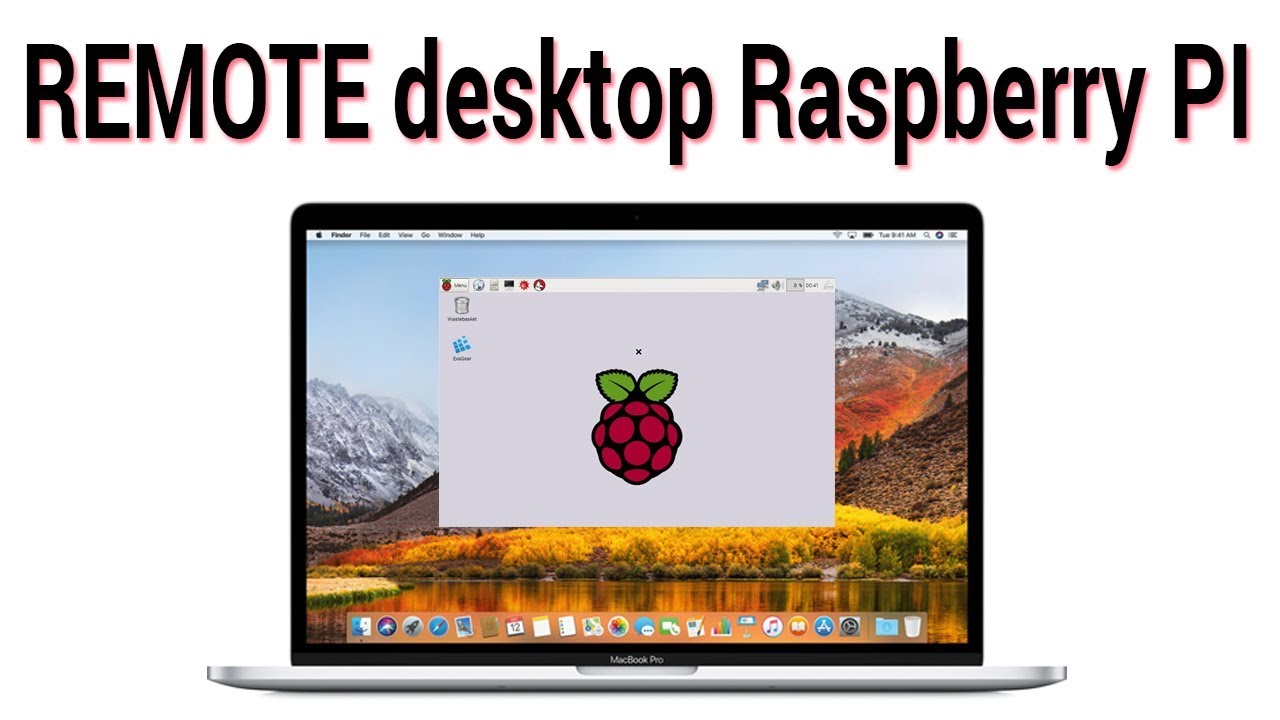
For graphical applications and a more visual experience, VNC is an excellent choice. VNC, or Virtual Network Computing, allows you to view and control the desktop environment of your Raspberry Pi from your Mac. Think of it as a remote desktop session, where you can interact with the graphical interface of your Raspberry Pi as if you were sitting in front of it. This is perfect for running applications with a graphical user interface, accessing files, and browsing the web.
To set up VNC, you'll need to install a VNC server on your Raspberry Pi. The popular option is RealVNC Server, which offers a user-friendly setup and good performance. You can install RealVNC Server by running the command: sudo apt update && sudo apt install realvnc-vnc-server. After installation, you can start the VNC server by running: sudo systemctl start vncserver-x11-serviced. You can also enable it to start on boot by running: sudo systemctl enable vncserver-x11-serviced. This ensures that the VNC server will automatically launch whenever your Raspberry Pi starts. You may also use other options like tightvncserver, which is another popular open-source option.
On your Mac, you'll need a VNC client to connect to the server. The built-in Screen Sharing application on macOS works perfectly well. You can also download dedicated VNC client applications such as RealVNC Viewer. In the VNC client, youll need to enter the IP address of your Raspberry Pi followed by a colon and the display number (usually :1). For example, if your Raspberry Pis IP address is 192.168.1.100, and you are connecting using display number 1, you would enter: 192.168.1.100:1. Upon connecting, you will be prompted for the password you set up for the VNC server on your Raspberry Pi. Once authenticated, you'll be presented with the Raspberry Pi's desktop.
The use of SSH and VNC allows for significant versatility. SSH is great for command-line tasks and secure file transfers. VNC facilitates graphical access and direct interaction with the Raspberry Pi's desktop. However, these methods have inherent limitations when connecting remotely over the internet. They need configuration of port forwarding on your router, and the IP address of your home network will need to remain consistent.
The most straightforward and secure way to connect to your Raspberry Pi remotely is by creating a secure tunnel using SSH, or by using a service like Tailscale or ZeroTier. This avoids the need for port forwarding and dynamic DNS services, which can sometimes be complex to configure. These services create a virtual private network (VPN) between your Mac and your Raspberry Pi, encrypting all traffic and ensuring a secure connection.
Tailscale is an easy-to-use service built on WireGuard, allowing you to create a secure network between your devices. It is particularly useful for connecting to your Raspberry Pi, as it simplifies the configuration process and provides end-to-end encryption. ZeroTier is another strong contender in the realm of VPN solutions, providing a similar function by creating a virtual network that can span across numerous devices.
To use Tailscale, you need to install it on both your Mac and your Raspberry Pi. The installation process is typically straightforward, involving downloading and installing the respective packages. Once installed, you will need to authenticate your devices with your Tailscale account. After authentication, Tailscale will assign each device a unique IP address within your virtual network. This enables you to connect to your Raspberry Pi using its Tailscale IP address, regardless of your location.
With Tailscale active, connecting from your Mac is as simple as using SSH or VNC, but you'll use the Tailscale IP address instead of the local network IP address. For SSH, you'd use: ssh pi@. For VNC, enter the Tailscale IP address in your VNC client. This simplifies the process significantly and provides a more secure connection than typical port-forwarding.
Securing your remote connection is paramount. Regardless of the method you choose, taking steps to protect your Raspberry Pi is essential. This encompasses several practices that will fortify your connection against unauthorized access.
Firstly, change the default password for the "pi" user. This is crucial because the default password ("raspberry") is widely known. This simple step prevents a significant amount of potential vulnerabilities. The procedure for changing the password is relatively simple: use the command "passwd" via SSH. The system will prompt you for the old password and then ask you to set a new one.
Consider enabling two-factor authentication (2FA) for added security. 2FA requires a second form of verification, such as a code generated by an authenticator app on your phone, in addition to your password. This drastically reduces the risk of unauthorized access, even if your password is compromised. Although it is less straightforward to set up with SSH, it can be implemented by configuring the PAM (Pluggable Authentication Modules) on your Raspberry Pi or with third-party authentication services.
Regularly update your Raspberry Pi's software. Software updates include security patches that address known vulnerabilities. Keeping your system up to date helps prevent exploitation by attackers. You can update your system using the command: sudo apt update && sudo apt upgrade.
If you are using port forwarding, ensure that you are only forwarding the necessary ports and that you've set strong passwords on your router. Consider using a firewall on your Raspberry Pi to control incoming and outgoing network traffic, further restricting access to your device. Properly configure SSH to disallow root login, enforce key-based authentication, and limit the number of failed login attempts. Restricting access and monitoring your device regularly can add multiple layers of protection.
Network security is not just about securing individual devices, but about securing your entire network. Using a strong password on your Wi-Fi, enabling WPA3 encryption, and keeping your router's firmware updated are vital steps. Implementing these steps builds a strong foundation to protect all your devices.
Choosing the right method for remote access depends on your specific needs and technical expertise. SSH provides a secure command-line interface, ideal for basic tasks and system administration. VNC is a great solution for graphical applications and offers a desktop-like experience. Services like Tailscale or ZeroTier offer a simpler and more secure method for remote access by creating a VPN. All options offer their respective pros and cons, and the best choice is subjective.
Understanding and implementing these various methods will enable you to successfully connect to your Raspberry Pi from your Mac. The key is to experiment, find the method that suits your needs, and practice good security practices. Consider the context of how you will use your Raspberry Pi and tailor your security measures to match. By mastering these techniques, youre no longer limited by physical location and can explore the full potential of your Raspberry Pi.
For more advanced users, customizing the SSH configuration can greatly improve security. Disabling password authentication, using key-based authentication, and changing the default SSH port (22) are recommended. Configuring a firewall like `ufw` (Uncomplicated Firewall) can further restrict network access.
For VNC, securing the connection involves setting a strong password and, if possible, encrypting the VNC traffic. Consider using an SSH tunnel to forward the VNC traffic. While the native VNC protocol itself may not be encrypted, using an SSH tunnel adds an extra layer of security to protect your information.
Troubleshooting is an inherent part of any technical task. If you encounter issues connecting to your Raspberry Pi, there are several troubleshooting steps to take. Start by ensuring that both your Raspberry Pi and your Mac are connected to the internet. Verify that you have the correct IP address of your Raspberry Pi. Check that SSH is enabled on your Raspberry Pi (or the VNC server). Examine your network configuration to ensure that the required ports are open and that your firewall isn't blocking traffic. Restart both your Raspberry Pi and your Mac if all else fails.
If you are using SSH and are experiencing connection problems, verify that your Mac's firewall isn't blocking SSH connections. Check the SSH configuration file on your Raspberry Pi (`/etc/ssh/sshd_config`) for any unusual settings. In VNC, make sure that the VNC server is running correctly and that the correct display number is being used. Double-check your VNC client settings. Searching online resources and consulting online forums is also a useful tactic. Many individuals have faced similar issues and shared their solutions.
The knowledge to connect your Raspberry Pi from your Mac is a gateway to numerous projects. The ability to remotely manage your Raspberry Pi allows you to control projects and monitor devices from anywhere with an internet connection. This capability significantly enhances the usability of your Raspberry Pi, empowering you to do more, wherever you are.
From setting up a home media server to creating complex automation systems, the applications are practically limitless. This opens doors to creative ventures, allowing you to design and deploy projects that adapt to your lifestyle and needs. The convergence of your Mac and your Raspberry Pi creates a powerful ecosystem for innovation.
For example, you can configure your Raspberry Pi as a home automation hub, controlling lights, appliances, and other devices. With your Mac, you can remotely manage and monitor these systems. Or, you can transform your Raspberry Pi into a retro gaming console, letting you enjoy classic games remotely. It is the perfect solution for game enthusiasts who want to access their game libraries from anywhere.
In the field of IoT, remote access is essential. If you are working on a project involving sensors and data collection, you can remotely monitor your devices. This enables you to gather data, make changes, and debug issues without being physically present. This enhances your ability to manage remote environmental projects, such as weather stations.
With a remote connection, the potential for educational purposes is also vast. You can remotely teach and learn coding from anywhere, including sharing your Raspberry Pi resources with students or collaborators. Using a Raspberry Pi and remote access as a tool for exploration helps to connect theory and practice.
The ability to connect from your Mac to your Raspberry Pi unlocks an almost limitless potential for innovation and exploration. The skills you acquire through these methods are valuable and transferable across various projects and contexts. These capabilities enhance productivity and unlock the ability to create, collaborate, and learn. This capability can transform how you engage with technology.
The journey of remote access to your Raspberry Pi is more than just a technical endeavor; it is an investment in your ability to leverage the full potential of your hardware. Embrace this opportunity to grow your knowledge and skills, and create a future of new creations.
By following the steps outlined in this guide, you are on your way to securely and confidently accessing your Raspberry Pi from your Mac, taking advantage of the advanced technology that surrounds us. Now you are equipped with the knowledge to explore the far-reaching applications of remote access, whether for personal or professional reasons, and take full command of your devices. The possibilities are limited only by your imagination.
Consider that, the ability to control your Raspberry Pi from your Mac, even when you are not near it, is a vital aspect of modern computing. This tutorial allows you to understand the tools and protocols that empower you to remotely connect to your Raspberry Pi and to implement the best security and access control practices. This article provides the fundamentals of secure remote connections, opening up the realm of IoT, smart home, and all the projects that are waiting to be started. Be inspired, and start creating.


